What is a Custom HTML Tag?
A custom HTML tag is a tag that is not part of the standard set of HTML tags. What is cool is that you can instruct the browser to recognize and display custom HTML tags.
Let’s see how.
Can You Create Your Own Tags in HTML?
When using HTML you are presenting information and tagging it with tags for formatting this information. The tags are interpreted by the browser and then rendered on the screen. The full list of HTML tags here: HTML4 and HTML5.
However there’s a limited number of things that these tags cover, so the natural question is, can this list be extended and can you create your own custom HTML tags?
YES. You can create your own tags in HTML. To do this you would have to inform the browser about the existence your new custom HTML tags and also tell the browser what to do when it encounters these tags inside the document.
How Do I Create a Custom Tag?
Let’s see how to create a custom HTML tag.
First, you have to inform the browser that you want to use some custom tags in your document. All tags need to have a name and of course, the browser would very much appreciate if your custom tag’s name is not the same as the already existing tag.
In this post I will create as an example a custom HTML tag which will display a Gravatar image. I will use HTML custom tag attributes to configure the custom tag behavior. This tag will have as an attribute the email address and it should be rendered as the Gravatar image related to that email address.
I will name my custom tag <codingdude-gravatar>. I believe it is a good practice to use prefixes like the one I used here (“codingdude”) to avoid name conflicts (eg. in case somebody else uses the “gravatar” custom tag).
In order to register this custom tag (or any other one) I’m using the following Javascript code:
var tagname = "codingdude-gravatar";

//inform the browser about the tag's existence
document.createElement(tagname);
You will probably find a lot of posts on the Internet regarding all sorts of libraries allowing you to create custom tags, and in complex applications (like for example if you want to create an email application similar to GMail) you should probably use one of those. But, for a light-weight, simple example like this I think you’ll find my method much more convenient.
Defining the behavior for the custom HTML tag
We’ve informed the browser about the custom tag, now we want to instruct it on how to render it in the page. To do this we have to locate it in the document and apply our behavior. We will do this with the following code:
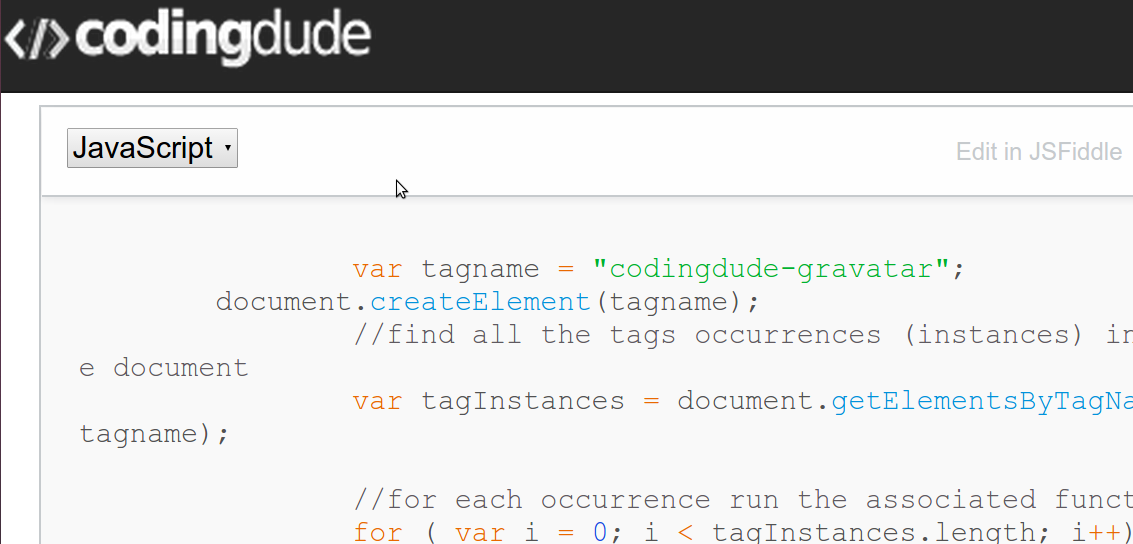
var tagname = "codingdude-gravatar";

//find all the tags occurrences (instances) in the document
var tagInstances = document.getElementsByTagName(tagname);

//for each occurrence run the associated function
for ( var i = 0; i < tagInstances.length; i++) {
   codingdudeGravatar(tagInstances[i]);
}

function codingdudeGravatar(element){
//code for rendering the element goes here
...
}
That’s about it. One important thing to note is that the code listed above needs to happen after the document has finished loading. In the following section I will list the full code with the result.
Complete Javascript code for the gravatar custom HTML tag
<html>
<head>
<!-- I'm using this md5 implementation; MD5 is required for calculating the Gravatar image URL -->
<script type="text/javascript" src="//www.myersdaily.org/joseph/javascript/md5.js"></script>
	<script type="text/javascript">
        //this is executed when the document has finished loading
	function documentLoaded(){
          var tagname = "codingdude-gravatar";
	  //inform the browser about the tag
	  document.createElement(tagname);

	  //find all the tags occurrences (instances) in the document
	  var tagInstances = document.getElementsByTagName(tagname);

		//for each occurrence run the associated function
		for ( var i = 0; i < tagInstances.length; i++) {
		   codingdudeGravatar(tagInstances[i]);
		}
	}

        function codingdudeGravatar(element){

	//code for rendering the element goes here
	if (element.attributes.email){

	//get the email address from the element's email attribute
	var email = element.attributes.email.value;
        var gravatar =
            "//www.gravatar.com/avatar/"+md5(email)+".png";
	  element.innerHTML = "<img src='"+gravatar+"'>";
	}
}
</script>
</head>
<body onload="documentLoaded()">
 <!-- the custom tag with the attribute email set to my email address -->
 <codingdude-gravatar email="[email protected]">
</body>
</html>
As you see in the code we have implemented the codingdude-gravatar custom HTML tag to render as the gravatar image of the email address we pass into the tag through the email attribute. You can have as many occurrences as you want of the custom HTML tag created. The result of the above code looks like this:
You can change the email attribute value to see the gravatar image change in JSFiddle by going here or here by clicking on “Edit in JSFiddle”.