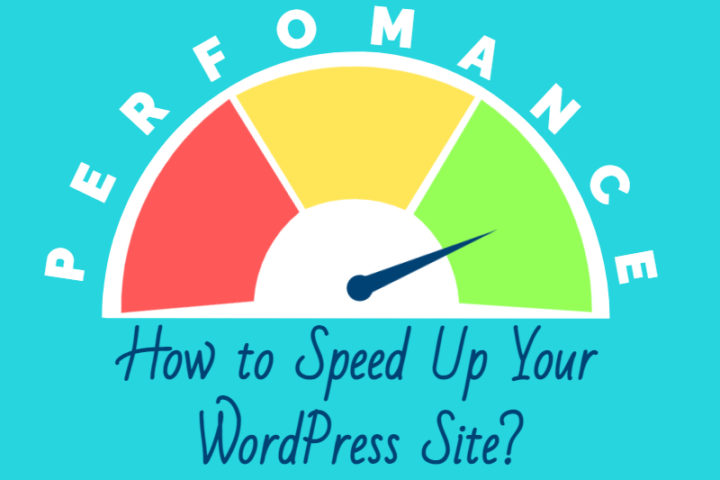
In this post I will describe the steps to take to create a setup for WordPress multiple sites on different domains.
What I mean is that if you want to have only one installation of WordPress for managing multiple websites/blogs, each with its own different content and different domain this is the post for you.
At the time of writing this post I am using WordPress 4.1, however this setup also works with other versions as low as WordPress 3.0 as far as I know, but with some slight differences in installation.
Preparation
In order to properly create a WordPress multiple sites – multiple domains mapping setup there are some initial considerations that you need to take into account.
Step1: Install WordPress in the root folder
I’m not sure is this is an absolute must, and there are probably ways to have the multiple sites with different domain mapping even if WordPress is not installed in a root (top level) folder of your webserver, but to avoid the errors from the various components we will use this is the way we will setup our WordPress. If you don’t know how to install WordPress in the root folder please read below.
Access the WordPress site and follow the installation instructions just like for a regular installation.
Step 2: Activate the use of pretty permalinks
This setup requires that pretty permalinks are enabled and working. You activate them by going in your WordPress admin screen to Settings > Permalinks and choosing something other than the “Default” setting. I usually check “Post name”.
Step 3: Create your WordPress sites network
To activate the WordPress sites network feature you have to edit your wp-config.php file and add the following lines right above the comment /* That’s all, stop editing! Happy blogging. */:
/* Multisite */
define( 'WP_ALLOW_MULTISITE', true );
Refresh the page in your WordPress admin screen and then go to Tools > Network Setup and create your sites network. Indicate the name of your websites network and the admin email (your email probably) and the screen lets you choose to have the websites in your network mapped either to sub-domains or to sub-directories. Choose what is more appropriate for you. If you don’t know then it means that you probably want to use sub-directories. (Note: a setup with sub-domains will allow you to have the websites mapped to sub1.yourdomain.com, sub2.yourdomain.com, sub3.yourdomain.com etc. while the sub-directories the mapping will be done to yourdomain.com/sub1, yourdomain.com/sub2, yourdomain.com/sub3 etc. Since we will anyway map TLDs to each WordPress website in the network it really does not make much of a difference which one you choose).
After you save follow the instructions for editing your wp-config.php and .htaccess. When you log out and log back in the admin screen should look slightly different since it is now an administration console for your WordPress multisite network.
Step 4: Add sites to your network
Now that the network is setup you can add sites to it by going to My Sites > Network Admin > Sites > Add Site. For each site you will have to choose a name, an admin(can be also you) and a sub-domain or sub-directory, depending on what you chose in Step 3.
Step 5: Install and setup WordPress multisite domain mapping plugin
What we want to achieve is to have multiple sites in the same WordPress installation, meaning that you want to have www.somedomain.com, www.otherdomain.com, www.yetanotherdomain.com all running on the save WordPress installation. So far we’ve made our network of WordPress websites, but if you access them you will notice that you are taken to either subX.yourdomain.com or www.yourdomain.com/subX. To change that we need to install the WordPress MU domain mapping plugin.
This plugin is installed like any regular plugin, but after installation it requires some setup as described in the installation notes, or read more below.
Step 6: Map top level domains to WordPress sites in the network
The only thing left to do is to map your TLDs to the sites defined in your WordPress network. To do this go to My Sites > Network Admin to switch to network administration mode and then go to Settings > Domains and add your top level domains by keying in the site ID (see here how to get the ID of a site in the network)
After completing all steps you should be able to use a setup for WordPress multiple sites on different domains. This setup has numerous advantages like centralized deployment of themes and plugins and also other maintenance advantages. Hope you enjoyed this post and let me know if you have questions or remarks.
§ Configuring WordPress to run in the root folder can be done in at least 2 ways:
1. The easy way is to just unpack the WordPress package right in your public html folder. On Windows, if you are using WAMP you can open that folder from the systray icon of WAMP – it’s called “www directory”. On Linux it’s usually /www or /var/www, you can look into the configuration of Apache to see exactly where it is. Please make sure that when you unpack the WordPress package the folder will look something like
|---var/
    |---www/
       |---wp-content/
       |---wp-includes/
.....
OR
2. You can unpack WordPress anywhere on your webserver and then configure Apache to point to that folder. To do this, locate your Apache configuration file and bind your main domain to your wordpress folder. Depending on which OS you are the Apache configuration file (usually named httpd.conf) is found either in /etc/httpd/conf/httpd.conf or on some Linux flavours in /etc/apache2/apache2.conf or on Windows if you are using WAMP you can directly open the httpd.conf file from the systray icon.
Assuming that you have unpacked the WordPress package in a folder on your drive (c:\web\wordpress or /home/john/wordpress) binding your main domain to the WordPress folder is done by adding the following to the end of the configuration file (httpd.conf or apache2.conf):
<VirtualHost *:80>
DocumentRoot c:/web/wordpress
ServerName www.yourdomain.com

# Other directives here
<Directory "C:/web/wordpress">
        Options +Indexes FollowSymLinks +ExecCGI
        AllowOverride AuthConfig FileInfo
                Order allow,deny
        Allow from all

</Directory>

</VirtualHost>
Restart the Apache server for the changes to take effect.
§ Setup the WordPress MU domain mapping plugin
The WordPress MU domain mapping plugin comes with a file named sunrise.php. You need to move this file in your WordPress wp-content/ folder and then activate the SUNRISE option by editing the wp-config.php fileand adding the following right above the comment /* That’s all, stop editing! Happy blogging. */:
define( 'SUNRISE', 'on' );
After you have made the changes refresh the admin page.
§ Getting the site ID of a WordPress network site
Go to My Sites > Network Admin > Sites and click on the site that you want to get the ID of. In the address bar the URL will look something like:
//www.yourdomain.com/wp-admin/network/site-info.php?id=2
The 2 in the URL is the ID of the site.