Adding a custom cursor or an interactive mouse trail effect is one of the easiest ways to bring playful micro-interactions to modern websites. In this tutorial, we will explore how to build a dynamic emoji mouse trail effect using vanilla JavaScript and HTML5 Canvas.
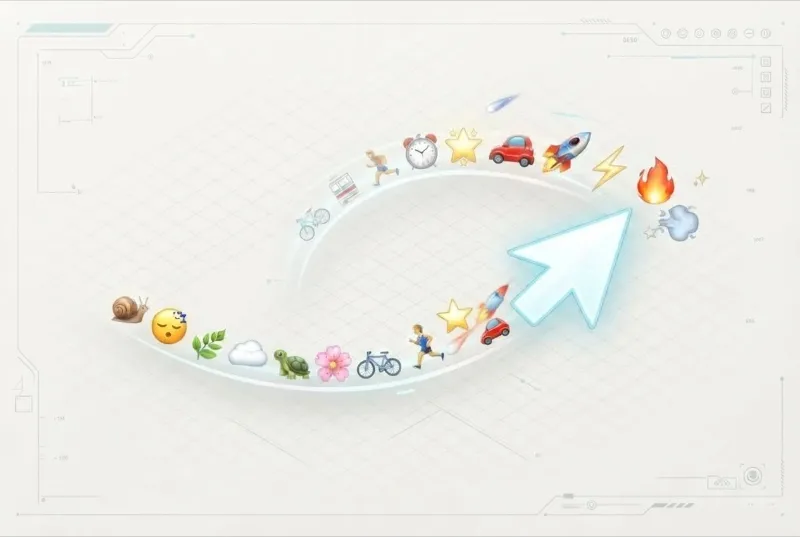
Unlike standard static trails, this effect dynamically calculates the speed of your cursor. Move slowly, and you will leave a calm trail of turtles and snoozing faces; whip your mouse across the screen, and you will ignite a flurry of rockets and fireballs!
Try the live interactive demo below:
See the Pen Emoji Mouse Trail by Ion Emil Negoita (@inegoita) on CodePen.
You can customize the character sets by picking your favorites from this massive library of emojis.
How the Emoji Mouse Trail Works
When building interactive website effects, performance and smooth visual feedback are critical. Here is a breakdown of the three key mechanisms that make this particle effect javascript snippet run smoothly.
1. Distance-Based Spawning (No Overlapping Clutter)
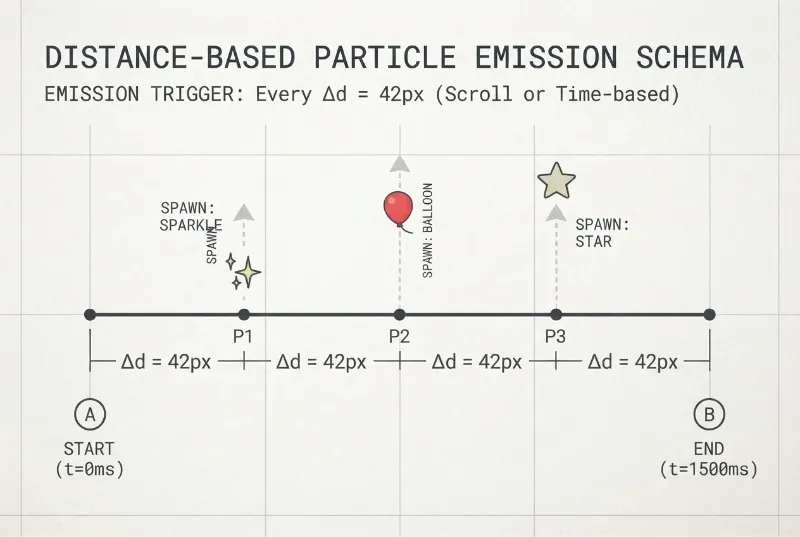
A common pitfall with a JavaScript cursor trail is spawning a particle on every single mousemove event. Because modern high-refresh-rate gaming mice fire hundreds of events per second, emojis clump into an unreadable mess.
To fix this, we track the Euclidean distance traveled by the cursor and only spawn a new emoji once the mouse has moved at least 42px:
const SPAWN_INTERVAL_PX = 42;

// Inside mousemove listener:
accumulatedDistance += dist;
if (accumulatedDistance >= SPAWN_INTERVAL_PX) {
  accumulatedDistance = 0;
  // Spawn single particle cleanly along the path
  particles.push(new EmojiParticle(e.clientX, e.clientY, emoji, smoothedSpeed));
}
This creates perfectly spaced trails regardless of how fast or slow the user moves their mouse.
2. Calculating Velocity with Exponential Smoothing
To measure the speed of the mouse, we calculate the distance covered over elapsed time:
$$\text{Speed} = \frac{\sqrt{\Delta x^2 + \Delta y^2}}{\Delta t}$$
Instantaneous speed calculations can fluctuate erratically between mouse events, causing UI labels to flicker. We solve this by applying an Exponential Moving Average (EMA) to smooth out transitions between speed tiers:
const instantSpeed = dist / dt;
// 80% weight to previous speed, 20% to instant burst
smoothedSpeed = smoothedSpeed * 0.8 + instantSpeed * 0.2;
3. Lightweight HTML5 Canvas Animation Loop
Instead of appending and removing dozens of heavy DOM <div> elements (which triggers expensive browser reflows), the entire trail is rendered inside an HTML5 canvas animation loop.
Each EmojiParticle tracks its own position, slight upward drift velocity, rotation, and alpha fade:
class EmojiParticle {
  constructor(x, y, emoji, speed) {
    this.x = x;
    this.y = y;
    this.emoji = emoji;
    this.size = Math.min(26 + speed * 6, 42);
    this.alpha = 1;
    this.decay = Math.random() * 0.01 + 0.012; // Natural fade out
    this.vy = Math.sin(Math.random() * Math.PI * 2) * 0.5 - 0.6; // Upward drift
  }

  draw(ctx) {
    ctx.save();
    ctx.globalAlpha = Math.max(0, this.alpha);
    ctx.translate(this.x, this.y);
    ctx.font = `${this.size}px serif`;
    ctx.fillText(this.emoji, 0, 0);
    ctx.restore();
  }
}
Customizing Your Speed Tiers
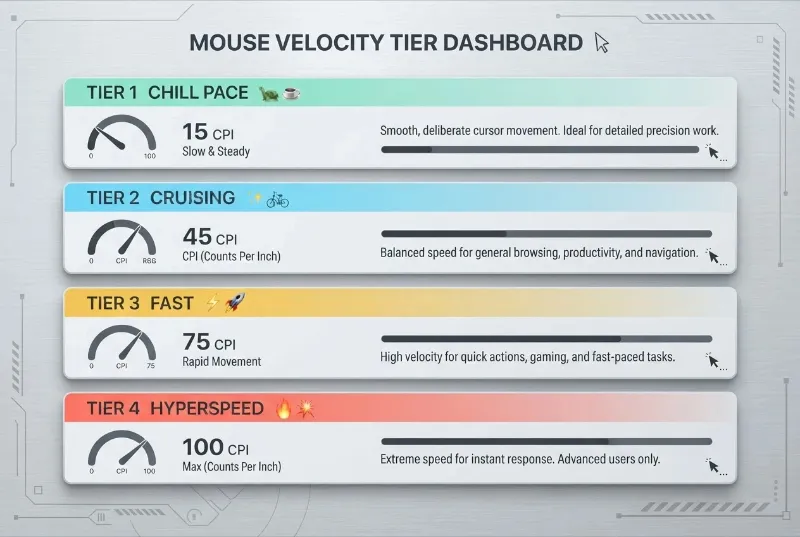
If you want to tailor the emojis to match your website’s theme (such as nature, tech, gaming, or food), you can edit the tiers configuration object in the JavaScript tab:
const tiers = [
  {
    max: 0.4,
    label: "Chill Pace ",
    color: "#a7f3d0",
    emojis: ["", "", "", "", "", "☕"]
  },
  {
    max: 1.2,
    label: "Cruising ✨",
    color: "#93c5fd",
    emojis: ["✨", "", "", "", "⭐", ""]
  },
  {
    max: 2.5,
    label: "Fast & Furious ⚡",
    color: "#fde047",
    emojis: ["", "⚡", "", "️", "", ""]
  },
  {
    max: Infinity,
    label: "HYPERSPEED ",
    color: "#f87171",
    emojis: ["", "☄️", "", "️", "", ""]
  }
];
Quick Install: Add the Emoji Trail to Any Website
You don’t need any complex setup, libraries, or extra HTML elements to use this effect. The script below is completely self-contained—it automatically injects a non-intrusive overlay canvas on top of your webpage without blocking clicks or links (using pointer-events: none).
How to Install:
- WordPress: Paste the script into your site footer via Appearance → Theme File Editor → footer.php (right before
</body>), or use a header/footer injection plugin like WPCode. - Shopify / Webflow / Squarespace: Paste it into your theme’s Custom Footer Code injection settings.
- Static HTML Site: Paste it directly before the closing
</body>tag on any page.
The Drop-in Code Snippet
Download the script, then copy and paste the code directly into your website:
- Zero DOM pollution: Creates only one global canvas element and self-manages animation frames.
- Click-through enabled:
pointer-events: noneguarantees users can still click buttons, links, and forms without any interference. - Auto-responsive: Handles window resize events automatically.
- Easily customizable: Modify the
tiersarray to use custom emojis for holidays ( for Halloween, ❄️ for Christmas, etc.).
Wrapping Up
This project is a great addition to your collection of cool JavaScript projects, portfolio showcases, or seasonal landing pages. Feel free to fork the CodePen demo, experiment with gravity and particle physics, and create your own interactive cursor effects!