So, in Angular JS animation examples part 1 we saw how to setup everything needed for Angular JS animations. We also saw a few simple examples of how Angular JS animations work. In this tutorial we will build on top of the previous examples and see some more advanced AngularJS animation examples.
Showing and hiding elements with AngularJS animations
In Angular JS if you want to show or hide elements you can use the ngShow or ngHide attribute (I should say directive). This will check against the truthfulness of the passed in expression and either hide or show the element. So, ng-show=”true expression” shows the element just like ng-hide=”false expression”. And the reverse is true.
If you are wondering how this actually works, the answer is simple. The 2 directives will add the CSS class ng-hide to hide the element when instructed to hide it.
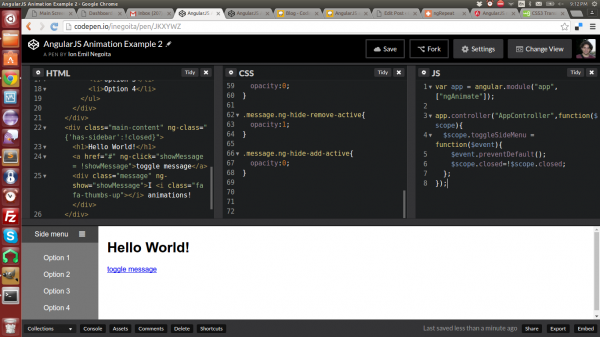
In the example below, if you press the “toggle message” link, then a message will appear or disappear. This is done by flipping an expression between true and false and using that expression inside an ng-show attribute. Nothing new if you’ve used Angular so far. But, let’s see how animations work.
As you can see the show/hide is smoothly animated between the 2 states. Let’s take a look at the CSS right after the comment
/*Angular JS Animation examples by coding-dude.com Part 2*/

.message.ng-hide-animate
{
  transition:all 5s;
}

.message.ng-hide-remove{
  opacity:0;
}

.message.ng-hide-remove-active{
  opacity:1;
}

.message.ng-hide-add-active{
  opacity:0;
}
For me it was a bit difficult to grasp at first sight how Angular animations work, but it’s really rather simple. Angular together with its animation module is marking each step of the work it’s doing by adding and removing CSS classes to the element it’s working on.
So, in our case the element is first hidden, so Angular sets the ng-hide CSS class to it. When we click the link to show the message the following will happen in a sequence:
- the Angular animation module adds the ng-hide-animate CSS class to mark the start of a potentially animated change; that’s what I used in the example above to activate the animation transition
- it adds the CSS class ng-hide-remove to mark that it starts to remove the ng-hide class for showing the element
- it adds the CSS class ng-hide-remove-active as the end of the action for removing the ng-hide class; this actually means that it marks the first moment after the element is shown
The 3 steps describe the life cycle for hiding the element. The reverse is showing the element, and there’s a similar life cycle for it, except steps 2 and 3 make use of the ng-hide-add and ng-hide-add-active.
Animate ngRepeat items with Angular
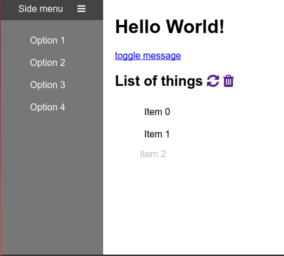
Let’s jump straight into it. I’ve modified the previous example by adding a list with Angular ng-repeat. The list gets populated when the refresh button is pressed and it gets emptied when pressing the trash icon. Try it and then let’s see how Angular JS animation is activated for the items in the list.
So, first of all when using ngRepeat the animation module of Angular JS adds ng-enter and ng-enter-active to mark when an item is “entering” or has entered the list. It then uses ng-leave and ng-leave-active for when items are taken out of the list. As you can see in the CSS, the animation is using these markers.
The animation classes are applied to all elements that enter or leave the list. That means that if you apply the animation then all elements will execute the same animation sequence at the same time – boring!
So, to introduce a small delay between adding/removing items we make use of another Angular JS animation utilitary CSS class: ng-[event]-stagger. This class is added in a sequence, so adding the following:
.ng-enter-stagger{
 transition-delay:0.3s;
}
.ng-leave-stagger{
transition-delay:0.2s;
}adds a small delay when adding or removing items to the list.
Angular JS animations for form validation
Let’s take a look at how you can use Angular JS animations to animate elements of your for in conjunction with form validation. Usually when you have an input form you may want to give some feedback to the user regarding the validity of the data he is inputting. The default look and feel of HTML5 validation markers is not too great, so in the following example I will use some Angular JS animations to improve on the markers for invalid fields.
First, let’s take a look at what Angular JS offers in regards to for validation. As with most things, Angular JS will add some CSS classes to indicate various stages of a form’s field validity:
ng-validis set if the form is valid.ng-invalidis set if the form is invalid.ng-pendingis set if the form is pending.ng-pristineis set if the form is pristine.ng-dirtyis set if the form is dirty.ng-submittedis set if the form was submitted.
What I did in the example above is added a shake animation on the email field when it is invalid. Also, it will receive a red shadow around it until it receives a valid email address.


